Cherry Pie Bars – Soft, Buttery, and Fruity Dessert
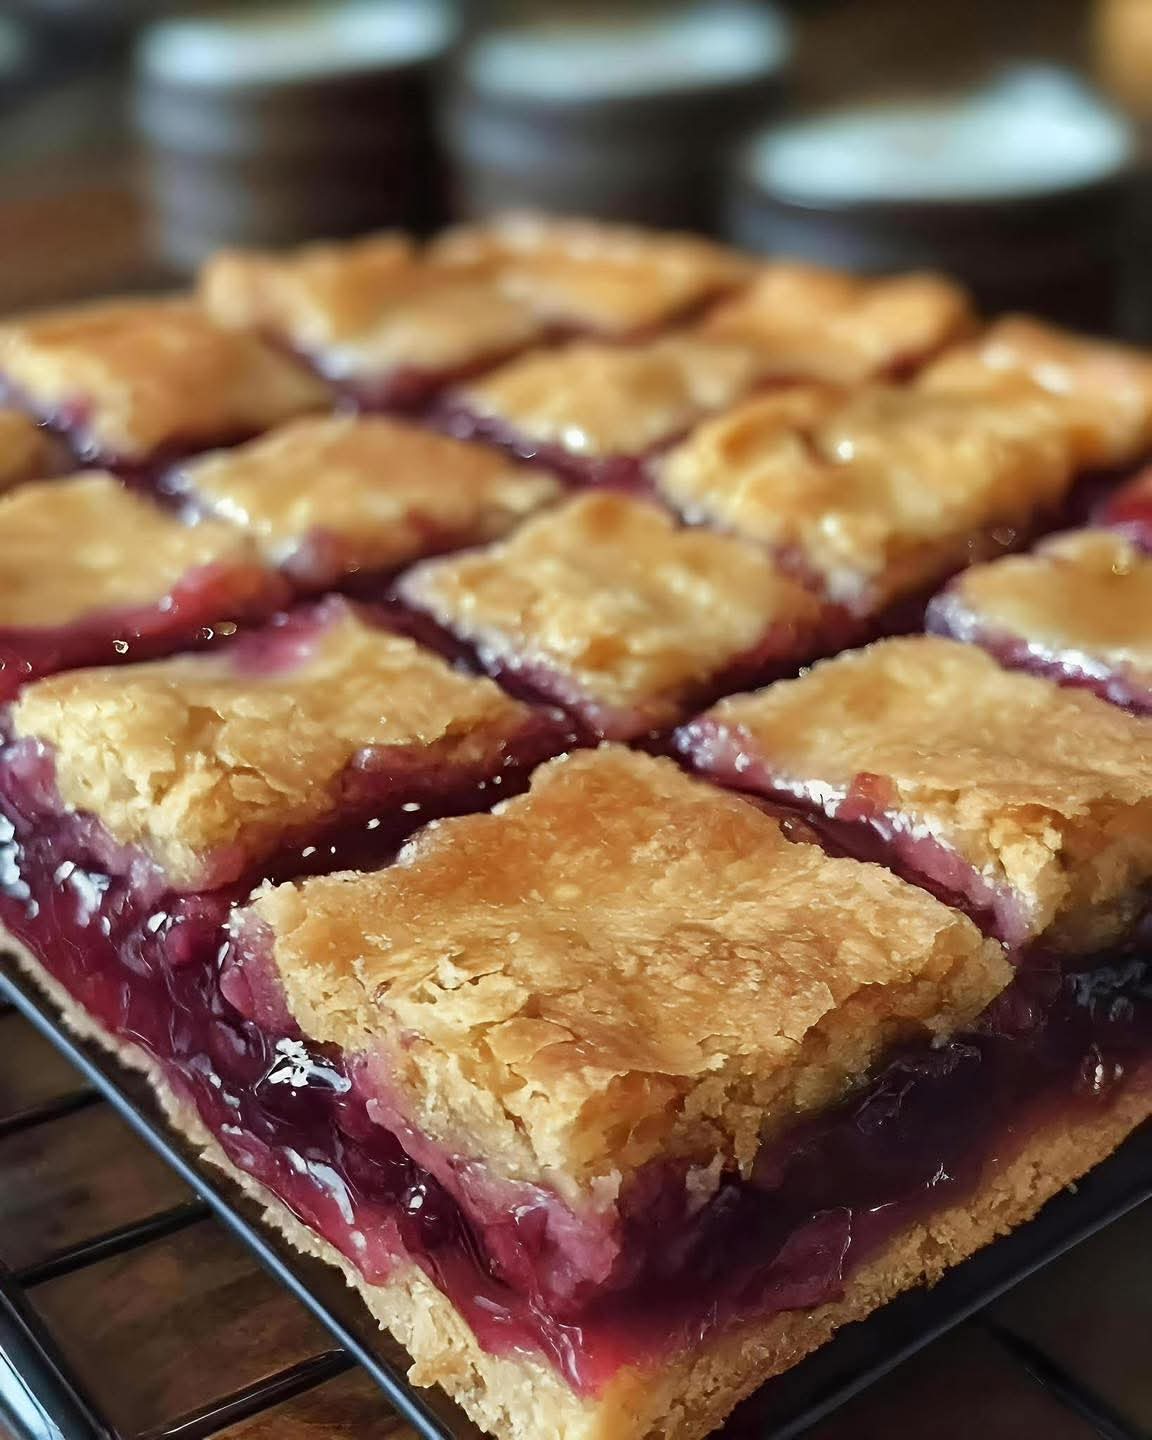
If you love cherry pie but want something faster and easier to serve, these Cherry Pie Bars are the perfect solution. With a buttery, cookie-like crust, a luscious cherry filling, and a light vanilla glaze on top, they deliver all the flavor of a classic cherry pie in convenient bar form.
These bars are soft, slightly chewy, and full of sweet cherry flavor. They’re perfect for family gatherings, holidays, bake sales, or a simple homemade treat for when you’re craving something fruity and comforting. Plus, they’re easy to slice, making them ideal for sharing—or keeping all to yourself!
Ingredients
For the Crust and Base
- 1 cup (2 sticks) unsalted butter, softened
- 1 cup granulated sugar
- 2 large eggs
- 1 teaspoon vanilla extract
- 2½ cups all-purpose flour
- 1 teaspoon baking powder
- ¼ teaspoon salt
For the Cherry Filling
- 2 cups pitted cherries (fresh or frozen)
- ½ cup granulated sugar
- 2 tablespoons cornstarch
- 1 tablespoon lemon juice
- ½ teaspoon vanilla extract
For the Vanilla Glaze
- 1 cup powdered sugar
- 2–3 tablespoons milk
- ½ teaspoon vanilla extract
Instructions
1. Preheat the Oven
Preheat your oven to 350°F (175°C). Line a 9×13-inch baking pan with parchment paper or lightly grease it.
2. Make the Crust
In a large bowl, cream together the softened butter and sugar until light and fluffy. Add the eggs and vanilla extract, and mix until combined.
In a separate bowl, whisk together the flour, baking powder, and salt. Gradually add the dry ingredients to the wet ingredients and mix until a soft dough forms.
Press about two-thirds of the dough evenly into the prepared pan to form the base. Set the remaining dough aside for the topping.
3. Prepare the Cherry Filling
In a medium saucepan over medium heat, combine cherries, sugar, cornstarch, lemon juice, and vanilla. Cook, stirring frequently, until the mixture thickens and becomes glossy, about 5–7 minutes. Remove from heat and let it cool slightly.
4. Assemble the Bars
Spread the cherry filling evenly over the crust. Crumble the remaining dough over the top, leaving some cherry filling visible for a rustic look.
5. Bake
Bake for 35–40 minutes, or until the top is lightly golden and the cherry filling is bubbly. Remove from the oven and allow to cool completely in the pan.
6. Add the Glaze
In a small bowl, whisk together powdered sugar, milk, and vanilla extract until smooth. Drizzle the glaze over the cooled bars.
7. Slice and Serve
Once the glaze is set, cut into squares or rectangles and serve. These bars are best stored in an airtight container at room temperature for 2–3 days, or in the refrigerator for up to 5 days.
Tips for the Best Cherry Pie Bars
- Use frozen cherries if fresh cherries are out of season—they work just as well.
- Make sure to thicken the cherry filling slightly; otherwise, the bars may be too soft.
- Don’t overbake—the topping should be lightly golden, not dark brown.
- For a richer flavor, add a pinch of almond extract to the cherry filling.
Variations & Add-Ons
- Berry Mix: Substitute half the cherries with blueberries or raspberries.
- Nutty Crunch: Sprinkle chopped almonds or pecans on top before baking.
- Chocolate Cherry Bars: Drizzle melted chocolate over the glaze for a decadent twist.
- Mini Bars: Use a 9×9-inch pan for thicker, smaller bars.
Serving Suggestions
- Serve with vanilla ice cream or whipped cream for a dessert upgrade.
- Perfect for holiday platters, picnics, or bake sales.
- Great as a grab-and-go snack for lunchboxes or coffee breaks.