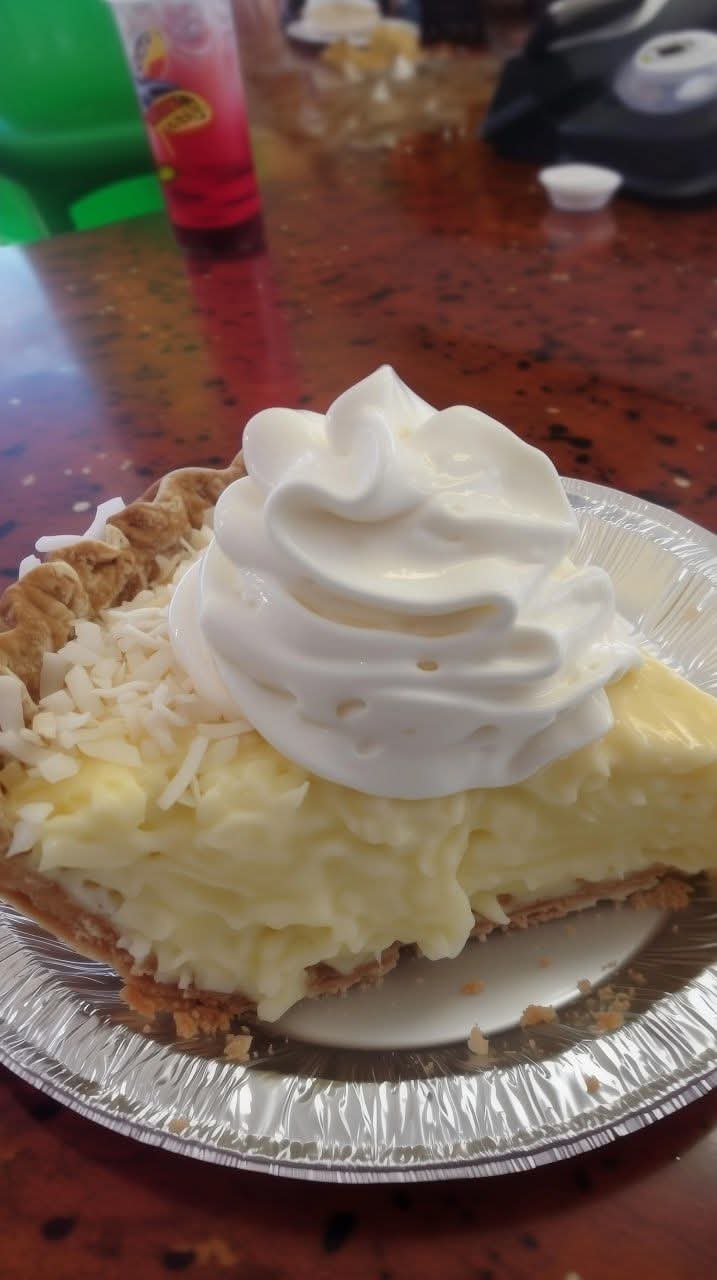
Old-Fashioned Coconut Cream Pie (Classic, Rich & Creamy)
This Coconut Cream Pie is a timeless dessert with a buttery flaky crust, a silky homemade coconut custard filling, and a light whipped cream topping. It’s the kind of traditional recipe that tastes nostalgic, comforting, and indulgent all at once.
Ingredients
For the Pie Crust
- 1 1/4 cups (160g) all-purpose flour
- 1/2 teaspoon salt
- 1/2 cup (115g) unsalted butter, very cold and cubed
- 3–4 tablespoons ice-cold water
For the Coconut Custard Filling
- 2 cups (480ml) whole milk
- 1/2 cup (100g) granulated sugar
- 1/4 cup (30g) cornstarch
- 1/4 teaspoon salt
- 4 large egg yolks
- 2 tablespoons unsalted butter
- 1 teaspoon vanilla extract
- 1 cup sweetened shredded coconut
For the Whipped Topping
- 1 cup heavy whipping cream
- 2 tablespoons powdered sugar
- 1/2 teaspoon vanilla extract
- 1/4 cup toasted coconut (for garnish)
Instructions
1 Make the Pie Crust (from scratch)
- In a large mixing bowl, whisk together the flour and salt.
- Add the cold butter cubes. Using your fingertips or a pastry cutter, work the butter into the flour until the mixture resembles coarse crumbs with small pea-sized bits of butter.
- Gradually add ice water, 1 tablespoon at a time, mixing gently until the dough just comes together. Do not overwork it.
- Shape the dough into a disc, wrap it in plastic wrap, and refrigerate for at least 30 minutes.
Chilling relaxes the gluten and keeps the crust flaky.
- Roll out the dough on a lightly floured surface into a circle (about 12 inches wide).
- Carefully transfer it to a 9-inch pie pan. Press it gently into the edges and trim excess dough.
- Prick the bottom with a fork (this prevents bubbling).
- Blind bake at 180°C (350°F) for 15–20 minutes, or until lightly golden.
Let the crust cool completely before adding filling.
2 Prepare the Coconut Custard Filling
- In a saucepan over medium heat, warm the milk until it begins to steam (do not boil).
- In a separate bowl, whisk together:
- Sugar
- Cornstarch
- Salt
- Egg yolks
- Slowly pour a small amount of the hot milk into the egg mixture while whisking constantly.
This step is called tempering — it prevents the eggs from scrambling.
- Gradually add the rest of the milk while whisking.
- Return the mixture to the saucepan.
- Cook over medium heat, stirring continuously with a whisk or spatula.
- After a few minutes, the mixture will thicken into a smooth custard.
- Keep stirring to avoid lumps or burning.
- Once thick, remove from heat and stir in:
- Butter
- Vanilla extract
- Shredded coconut
The result should be rich, creamy, and slightly thick — it will firm up more as it cools.
3 Assemble the Pie
- Pour the warm coconut custard into the cooled pie crust.
- Spread evenly with a spatula.
- Place plastic wrap directly on the surface of the custard (this prevents a skin from forming).
- Refrigerate for at least 4 hours, preferably overnight.
This chilling time is essential for the pie to fully set.
4 Make the Whipped Cream
- In a cold bowl, beat the heavy cream until soft peaks form.
- Add powdered sugar and vanilla.
- Continue beating until stiff peaks form.
5 Final Decoration
- Remove the chilled pie from the refrigerator.
- Spread or pipe whipped cream on top.
- Sprinkle toasted coconut evenly over the surface.
Optional: Add caramel drizzle or chocolate shavings for extra flavor.
Tips for Best Results
- Use full-fat milk for a richer custard.
- Toast the coconut before adding it — this enhances the flavor.
- Stir constantly while cooking the custard to avoid lumps.
- Let the pie chill completely — cutting too early will make it runny.
What Makes This “Old-Fashioned”?
This version of Coconut Cream Pie follows traditional techniques:
- Homemade crust (not store-bought)
- Egg-based custard (not instant pudding)
- Real whipped cream topping
That’s what gives it that classic, bakery-style texture and flavor.