Homemade Crunch Bars – Crispy, Chocolatey & Better Than Store-Bought
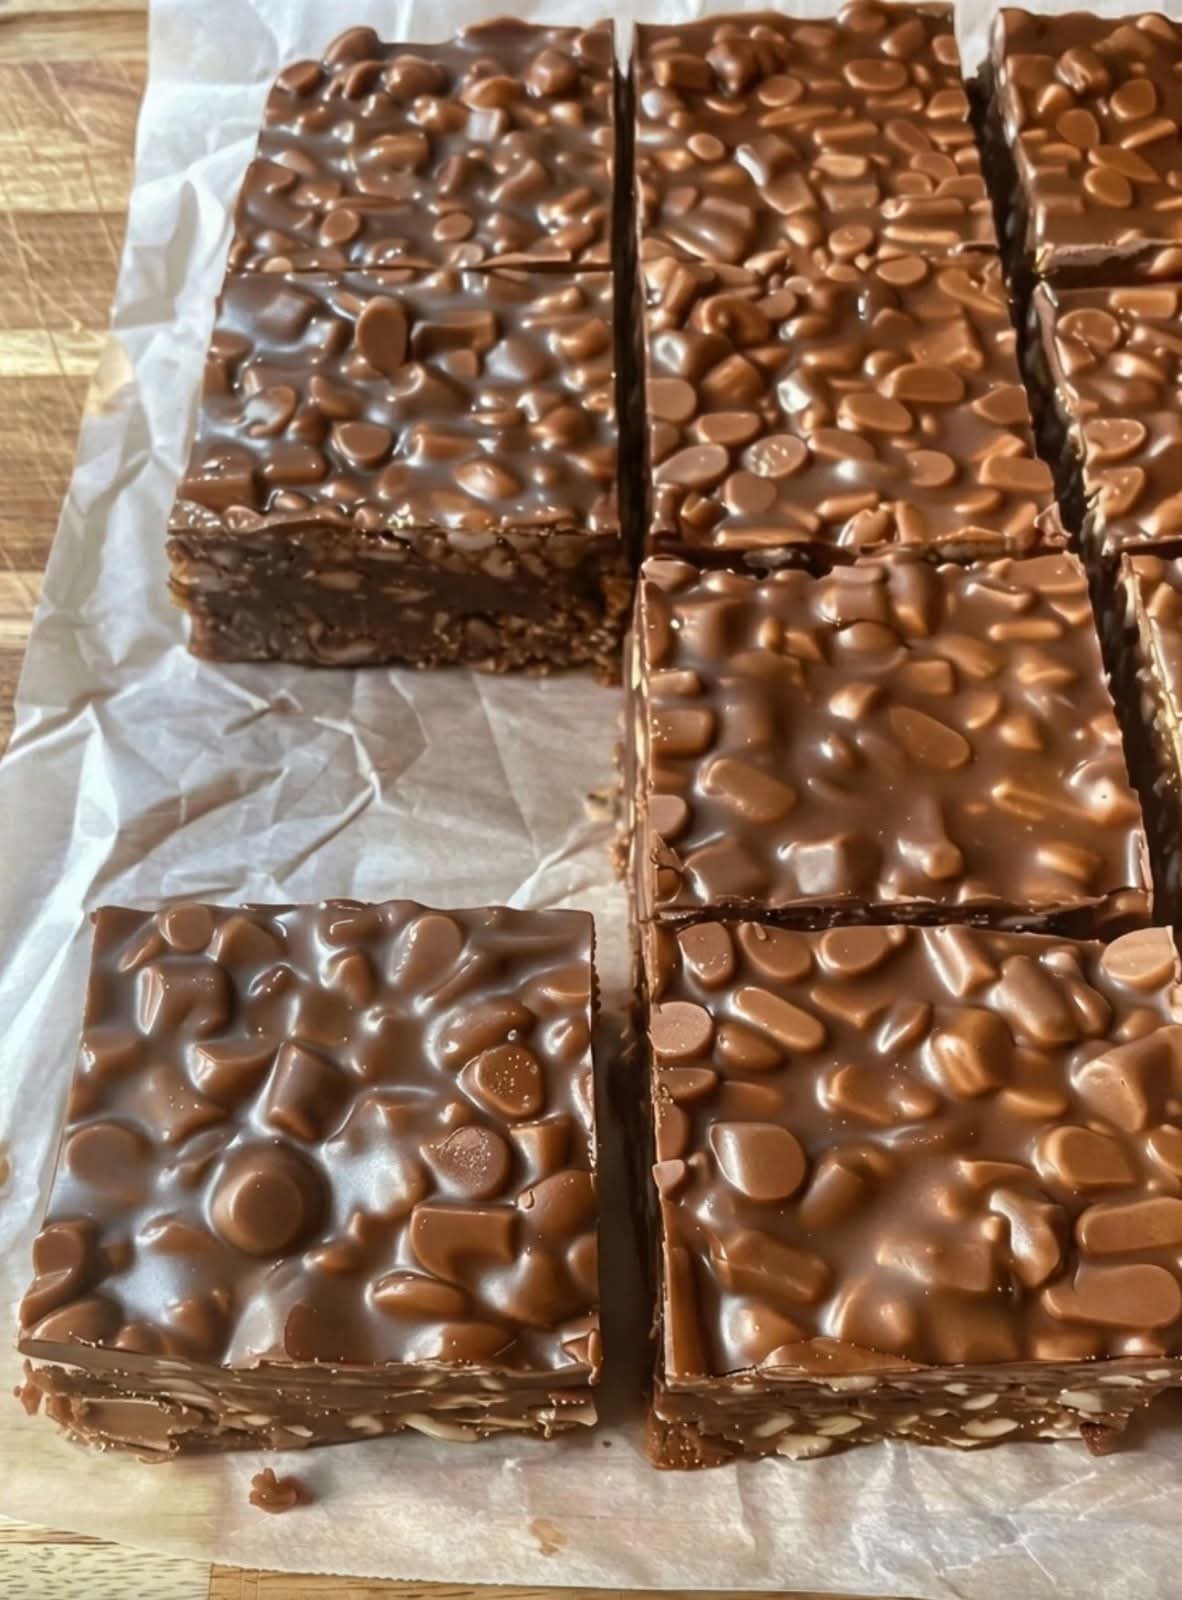
Homemade Crunch Bars are a delicious no-bake treat that combines smooth melted chocolate with crispy rice cereal to create the perfect balance of crunch and sweetness. Inspired by the classic chocolate crunch bars we all love, this homemade version is easier, fresher, and more customizable—with no preservatives and just a few simple ingredients.
Perfect for desserts, snacks, parties, lunchboxes, or holiday treats, these crunch bars come together in minutes and deliver big flavor with minimal effort. Once you try them homemade, you may never go back to the store-bought version!
Why You’ll Love These Homemade Crunch Bars
- No-bake and super easy to make
- Only a few simple ingredients
- Crispy, chocolatey, and perfectly sweet
- Great for kids and adults
- Ideal for gifting or special occasions
Ingredients
- 3 cups crispy rice cereal
- 2 cups milk chocolate chips or chopped chocolate
- 1 tablespoon coconut oil or butter (for smooth melting)
- ½ teaspoon vanilla extract (optional)
- Pinch of salt (optional, enhances flavor)
Optional Add-Ins
- Dark chocolate or white chocolate
- Peanut butter or almond butter
- Crushed nuts (almonds, hazelnuts)
- Sea salt flakes on top
Step-by-Step Instructions
Step 1: Prepare the Pan
Line an 8×8-inch baking pan with parchment paper, leaving extra hanging over the sides for easy removal. Set aside.
Step 2: Melt the Chocolate
In a heat-safe bowl, combine the chocolate and coconut oil (or butter).
Melt using:
- A microwave in 30-second intervals, stirring between each, or
- A double boiler over gently simmering water
Stir until smooth and glossy. Add vanilla extract and a pinch of salt if using.
Step 3: Add the Crunch
Gently fold the crispy rice cereal into the melted chocolate. Mix carefully until all the cereal is evenly coated without crushing it.
Step 4: Shape the Bars
Pour the mixture into the prepared pan. Spread evenly using a spatula and gently press down to compact the mixture.
Step 5: Chill
Place the pan in the refrigerator for 1–2 hours, or until fully set and firm.
Step 6: Slice & Serve
Once set, lift the slab out of the pan and cut into bars or squares using a sharp knife.
Serving Suggestions
- Enjoy as a sweet snack or dessert
- Serve with coffee or tea
- Add to dessert trays or party platters
- Wrap individually for homemade gifts
Storage Tips
- Store in an airtight container at room temperature for 3–4 days
- Refrigerate for up to 2 weeks
- Freeze for up to 2 months
Tips for Perfect Crunch Bars
- Use good-quality chocolate for best flavor
- Don’t overheat the chocolate
- Fold cereal gently to keep it crispy
- Let bars fully set before cutting
Variations
- Dark Chocolate Crunch Bars – use 70% dark chocolate
- Peanut Butter Crunch Bars – add ¼ cup peanut butter
- White Chocolate Crunch Bars – swap milk chocolate for white
- Holiday Crunch Bars – add festive sprinkles
Final Thoughts
These Homemade Crunch Bars are the perfect combination of rich chocolate and light, crispy crunch. They’re quick, easy, and endlessly customizable—making them ideal for busy days, special occasions, or anytime you’re craving a simple homemade treat.
Once you try them, they’ll become a staple dessert in your kitchen!