Homemade Vanilla Ice Cream (No Ice Cream Machine Needed)
There’s nothing better than a bowl of rich, creamy homemade ice cream — especially when it’s incredibly easy to make and doesn’t require any special equipment. If you’ve ever thought making ice cream at home was complicated, this recipe will completely change your mind.
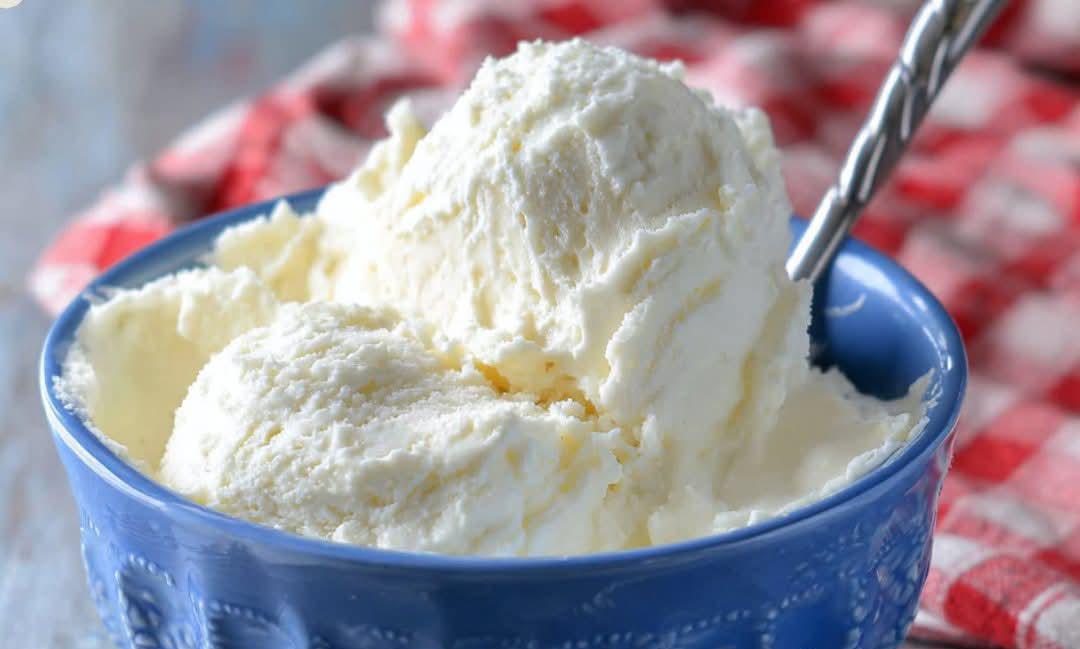
This homemade vanilla ice cream recipe is smooth, soft, creamy, and packed with classic vanilla flavor. The best part is that you only need a few simple ingredients and a freezer. No ice cream machine, no fancy tools, and no difficult techniques.
Whether you’re making dessert for family, preparing something refreshing for hot summer days, or simply craving a sweet homemade treat, this recipe is perfect for beginners and always turns out delicious.
Ingredients
To make this easy homemade vanilla ice cream, you’ll need:
- 1½ cups milk
- 1½ cups heavy cream
- ⅔ cup sugar
- 1 tablespoon vanilla extract
- ⅛ teaspoon kosher salt
These simple ingredients come together to create a rich and creamy texture with a sweet vanilla flavor that tastes even better than store-bought ice cream.
Why You’ll Love This Recipe
This no-machine ice cream recipe is perfect because it’s:
- incredibly easy to make
- rich and creamy
- made with basic ingredients
- beginner-friendly
- customizable with different flavors and toppings
- cheaper than premium store ice cream
- fun to make at home
Unlike many homemade ice cream recipes, this one doesn’t require eggs or cooking, which makes the process much faster and easier.
Step-by-Step Instructions
Step 1: Combine the Ingredients
In a large mixing bowl, add:
- milk
- heavy cream
- sugar
- vanilla extract
- kosher salt
Whisk everything together thoroughly for about 2–3 minutes until the sugar completely dissolves into the mixture.
This step is important because dissolved sugar helps create a smoother and creamier texture once frozen.
Helpful Tip:
Rub a little of the mixture between your fingers. If you can still feel sugar crystals, continue whisking for another minute.
Step 2: Chill the Ice Cream Base
Cover the bowl with plastic wrap or a lid and place it in the refrigerator for at least 1–2 hours.
Chilling the mixture before freezing helps the ice cream freeze more evenly and improves the final texture.
For even better results, let it chill overnight.
Why does this matter?
A cold base forms smaller ice crystals, which gives your ice cream that smooth and creamy consistency everyone loves.
Step 3: Transfer to a Freezer-Safe Container
After chilling, pour the mixture into a shallow freezer-safe container.
Good options include:
- loaf pans
- glass baking dishes
- plastic containers with lids
- metal trays
Shallow containers work best because they allow the mixture to freeze evenly and faster.
Step 4: Freeze and Stir
Place the container into the freezer.
Every 30 minutes, remove it and stir the mixture thoroughly using:
- a whisk
- fork
- spoon
- hand mixer
Be sure to scrape the frozen edges and mix them back into the center.
Repeat this process about 4–5 times during the first few hours of freezing.
This step replaces the work of an ice cream machine. Stirring breaks up ice crystals and incorporates air into the mixture, making the ice cream lighter and creamier.
Step 5: Freeze Until Firm
After the final stir, cover the container tightly and let the ice cream freeze completely for another 3–4 hours or overnight.
Once fully frozen, your homemade vanilla ice cream is ready to scoop and serve.
Delicious Topping Ideas
One of the best things about homemade vanilla ice cream is how easy it is to customize.
Try serving it with:
- chocolate syrup
- caramel sauce
- fresh strawberries
- blueberries
- crushed cookies
- brownie pieces
- roasted almonds
- rainbow sprinkles
- peanut butter drizzle
- whipped cream
You can also turn it into ice cream sandwiches or serve it alongside warm brownies, pancakes, or apple pie.
Easy Flavor Variations
Chocolate Ice Cream
To make chocolate ice cream, add:
- ¼ cup cocoa powder
- melted dark chocolate
Mix it into the base before freezing.
Cookies and Cream
Crush chocolate sandwich cookies and fold them into the mixture during the last stir.
Strawberry Ice Cream
Blend fresh strawberries with a little sugar and swirl the puree into the ice cream before freezing.
Coffee Ice Cream
Add 1 tablespoon instant coffee dissolved in warm milk for a delicious coffee flavor.
Mint Chocolate Chip
Add peppermint extract and chocolate chips for a refreshing mint version.
Storage Tips
To keep your homemade ice cream fresh and creamy:
- store it in an airtight container
- keep it tightly covered
- place plastic wrap directly on the surface to prevent ice crystals
Homemade ice cream is best enjoyed within 1–2 weeks.
Before serving, let it sit at room temperature for about 5 minutes to soften slightly for easier scooping.
Common Mistakes to Avoid
1. Not Stirring During Freezing
Skipping the stirring process can make the texture icy instead of creamy.
2. Using Low-Fat Cream
Heavy cream is essential for richness and smooth texture.
3. Freezing in a Deep Container
Deep containers freeze unevenly. A shallow dish works much better.
4. Adding Too Many Mix-Ins Early
Heavy toppings should be added near the end of freezing to prevent sinking.
Pro Tips for Ultra Creamy Ice Cream
Use pure vanilla extract for the best flavor
Chill the bowl before mixing
Add a spoonful of honey for softer texture
Fold in whipped cream for extra lightness
Use high-quality cream for richer flavor
Final Thoughts
Making homemade vanilla ice cream without a machine is surprisingly simple, fun, and rewarding. With just a few ingredients and a little patience, you can create a frozen dessert that tastes rich, creamy, and far more fresh than many store-bought versions.
This recipe is perfect for summer gatherings, family desserts, movie nights, or anytime you want a sweet homemade treat.
Once you try this easy homemade ice cream recipe, you’ll want to experiment with endless flavors and toppings again and again.