Old Fashioned Soft and Buttery Yeast Rolls
The Best Homemade Dinner Rolls That Are Light, Fluffy, and Foolproof
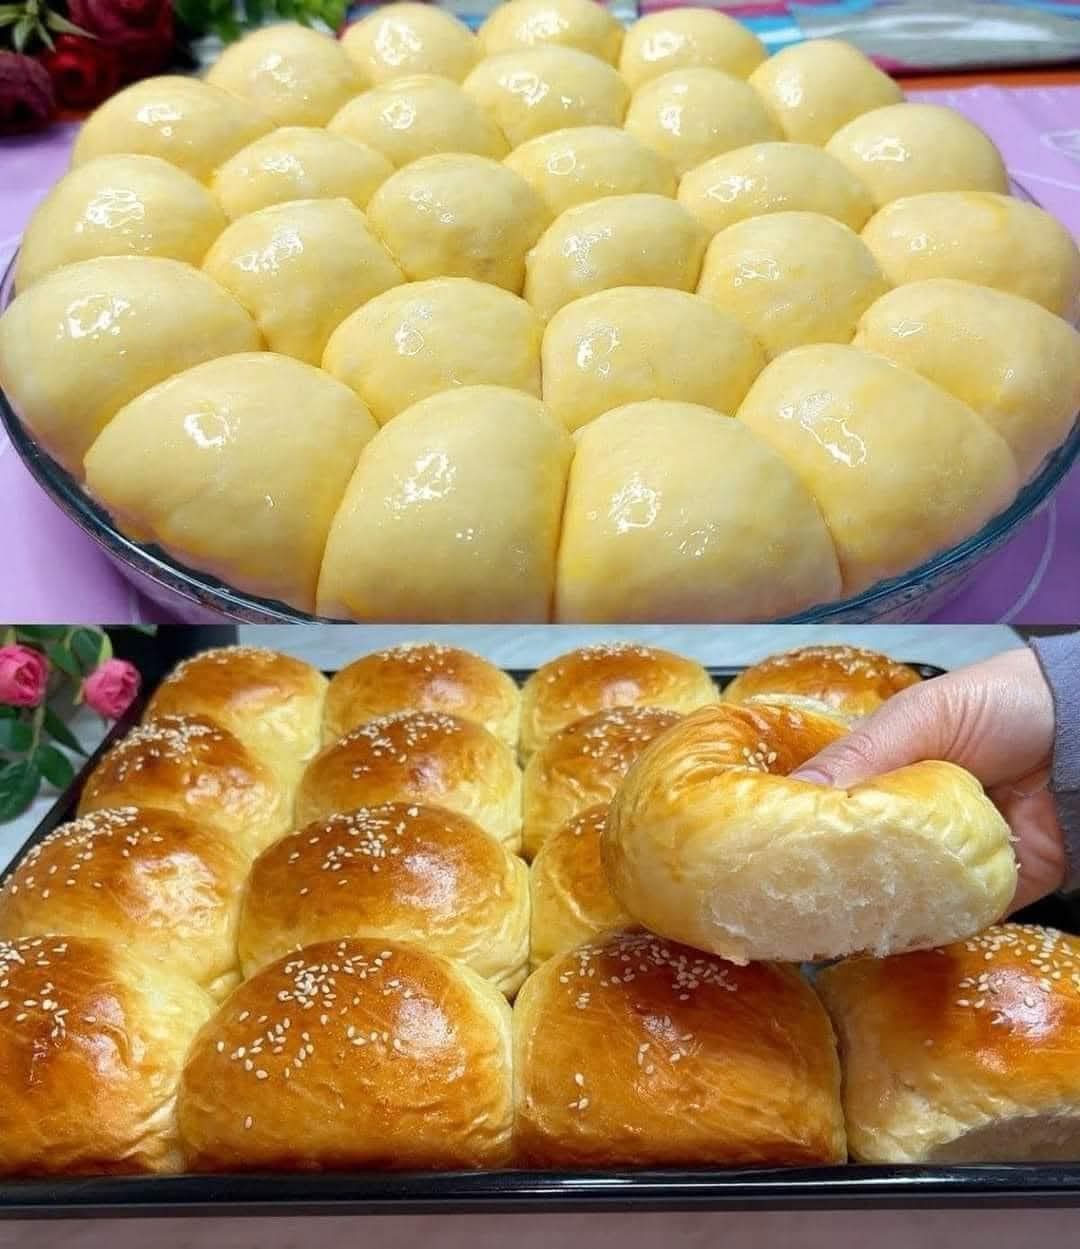
There is nothing quite like the smell of old fashioned soft and buttery yeast rolls baking in the oven. These classic homemade dinner rolls are pillowy soft on the inside, lightly golden on the outside, and brushed with melted butter for that irresistible finish. Whether you are preparing a holiday feast, Sunday family dinner, or simply craving fresh bread, this traditional yeast roll recipe delivers perfect results every time.
One of the reasons this recipe is considered relatively foolproof is that it uses a generous amount of yeast. As long as you do not rush the rising process and carefully follow each step, your rolls will turn out light, airy, and beautifully fluffy.
This detailed guide will walk you through everything you need to know, including ingredients, step-by-step instructions, expert baking tips, troubleshooting advice, storage methods, and make-ahead options.
Why You’ll Love These Old Fashioned Yeast Rolls
- Soft, fluffy texture with a tender crumb
- Rich buttery flavor in every bite
- Beginner-friendly yeast bread recipe
- Perfect for holidays like Thanksgiving and Christmas
- Easy to make ahead
- Freezer-friendly
These rolls are the perfect side dish for roasted meats, soups, stews, and holiday spreads. They are also wonderful served warm with honey butter or homemade jam.
Ingredients for Soft and Buttery Yeast Rolls
This recipe makes about 12–15 dinner rolls.
- 380 grams all-purpose flour (approximately 3 cups)
- 2 ¼ teaspoons active dry yeast (1 standard packet)
- 1 cup (240 ml) warm milk (about 105–110°F / 40–43°C)
- ¼ cup (60 grams) unsalted butter, melted
- ¼ cup (50 grams) granulated sugar
- 1 large egg, room temperature
- 1 teaspoon salt
- Extra melted butter for brushing after baking
Using a kitchen scale for the flour ensures accurate measurement and prevents dense rolls.
Step-by-Step Instructions
Step 1: Activate the Yeast
In a large mixing bowl, combine the warm milk and sugar. Stir gently until the sugar dissolves.
Sprinkle the yeast over the milk mixture and let it sit undisturbed for 5 to 10 minutes. The yeast should become foamy and bubbly.
Important: The milk must be warm, not hot. If it is too hot, it can kill the yeast. If the mixture does not foam, the yeast may be expired and should be replaced.
Step 2: Mix the Dough
Once the yeast is activated, add the melted butter, egg, and salt. Mix until combined.
Gradually add the 380 grams of flour, stirring until a soft dough forms. The dough should feel slightly sticky but manageable.
Avoid adding too much flour. Extra flour can make the rolls dense instead of soft.
Step 3: Knead the Dough
Transfer the dough onto a lightly floured surface.
Knead by hand for 8 to 10 minutes until the dough becomes smooth, elastic, and soft. If using a stand mixer with a dough hook, knead for about 6 to 7 minutes on medium speed.
You will know the dough is ready when:
- It springs back when gently pressed
- It feels soft and elastic
- It passes the windowpane test (stretch a small piece thin without tearing)
Proper kneading is essential for developing gluten, which gives the rolls structure and fluffiness.
Step 4: First Rise (Proofing)
Place the dough in a lightly greased bowl and cover with plastic wrap or a clean towel.
Allow it to rise in a warm, draft-free place for 1 to 1½ hours, or until doubled in size.
Do not rush this step. The first rise develops flavor and creates a light texture.
Tip: If your kitchen is cool, place the bowl inside the oven with only the light turned on.
Step 5: Shape the Rolls
After the dough has doubled, gently punch it down to release excess air.
Divide the dough into 12 to 15 equal portions. Shape each piece into a smooth ball by tucking the edges underneath and rolling gently in your hand.
Arrange the dough balls in a greased 9×13-inch baking dish or on a lined baking sheet, leaving a little space between each one.
Step 6: Second Rise
Cover the shaped rolls and let them rise again for 30 to 45 minutes until puffy and almost doubled in size.
This second rise ensures your rolls will be soft and airy instead of dense.
Step 7: Bake the Rolls
Preheat your oven to 350°F (175°C).
Bake for 18 to 22 minutes, or until the tops are golden brown.
If you have a thermometer, the internal temperature should reach about 190°F (88°C).
Do not overbake, as this can dry out the rolls.
Step 8: Brush with Butter
Immediately after removing the rolls from the oven, brush them generously with melted butter.
This step adds:
- Extra flavor
- A soft crust
- A beautiful glossy finish
Allow the rolls to cool slightly before serving.
Expert Tips for Perfect Yeast Rolls
- Use fresh yeast for reliable rising.
- Measure flour accurately using a scale.
- Do not overheat the milk.
- Allow full rising time — patience is key.
- Avoid adding too much flour during kneading.
- Brush with butter while the rolls are still hot.
Following these tips will help guarantee light, fluffy, bakery-style rolls.
Common Problems and How to Fix Them
Rolls Did Not Rise
- Yeast may be expired
- Milk may have been too hot
- Kitchen temperature may be too cold
Rolls Are Dense
- Too much flour added
- Not enough kneading
- Under-proofed dough
Rolls Are Dry
- Overbaked
- Too much flour used
Understanding these issues will help you perfect your baking technique.
Make-Ahead Options
Overnight Method
After shaping the rolls, cover and refrigerate overnight. Let them come to room temperature for 45–60 minutes before baking.
Freezer Method
Freeze baked rolls in an airtight container for up to 3 months. Reheat wrapped in foil at 300°F for 10 minutes.
How to Store Homemade Yeast Rolls
- Room temperature: Store in an airtight container for up to 2 days.
- Refrigerator: Up to 5 days.
- Freezer: Up to 3 months.
For best texture, warm before serving.
Serving Ideas
These soft and buttery yeast rolls pair perfectly with:
- Roast turkey
- Baked chicken
- Beef stew
- Holiday dinners
- Honey butter
- Fruit preserves
They are also excellent for sliders or small sandwiches.
Final Thoughts
Old fashioned soft and buttery yeast rolls are a timeless comfort food that never goes out of style. With simple ingredients, careful rising time, and proper technique, you can create bakery-quality rolls in your own kitchen.
Remember: do not rush the process. Yeast dough rewards patience. If you follow the steps carefully and allow the dough to rise properly, you will enjoy soft, fluffy, golden dinner rolls that your family will request again and again.