Homemade Crunch Bars Recipe (Easy, No-Bake & Crispy)
Homemade Crunch Bars are a delicious and easy dessert made with melted chocolate and crispy rice cereal. This no-bake recipe is perfect if you want a quick sweet treat without using an oven. These bars have the perfect balance of smooth chocolate and crunchy texture, making them a favorite for both kids and adults.
If you love classic Crunch chocolate bars, this homemade version is simple, customizable, and made with ingredients you can easily find at home.
Why You’ll Love This Recipe
- No baking required
- Ready with only a few ingredients
- Crispy, chocolatey, and rich in flavor
- Perfect for parties, snacks, or dessert
- Easy to customize with different add-ins
Ingredients
- 300 g milk chocolate (or dark chocolate for a richer taste)
- 1 cup Rice Krispies cereal
- 1 tablespoon butter
- 2 tablespoons sweetened condensed milk (optional, for creaminess)
- A pinch of salt (optional, enhances chocolate flavor)
Step-by-Step Instructions
Step 1: Melt the Chocolate
Break the chocolate into small pieces and place it in a heatproof bowl.
Melt it using a double boiler method by placing the bowl over a pot of gently simmering water. Stir slowly until the chocolate is completely melted.
Add the butter and continue stirring until the mixture becomes smooth, shiny, and well combined.
Tip: You can also melt the chocolate in the microwave by heating it in 20-second intervals, stirring between each round to avoid burning.
Step 2: Add the Crunch
Once the chocolate is fully melted, remove it from heat.
Gradually add the Rice Krispies cereal and gently fold them into the chocolate until all the cereal is evenly coated.
If you’re using condensed milk and salt, add them at this stage and mix well. This step adds extra richness and balances the sweetness.
Step 3: Shape the Bars
Line a rectangular pan or baking dish with parchment paper.
Pour the chocolate mixture into the pan and spread it evenly using a spatula or the back of a spoon. Press it down lightly to ensure the bars hold together once set.
Step 4: Chill and Set
Place the pan in the refrigerator for 1 to 2 hours, or until the chocolate has completely hardened.
For faster results, you can place it in the freezer for about 30 minutes.
Step 5: Cut and Serve
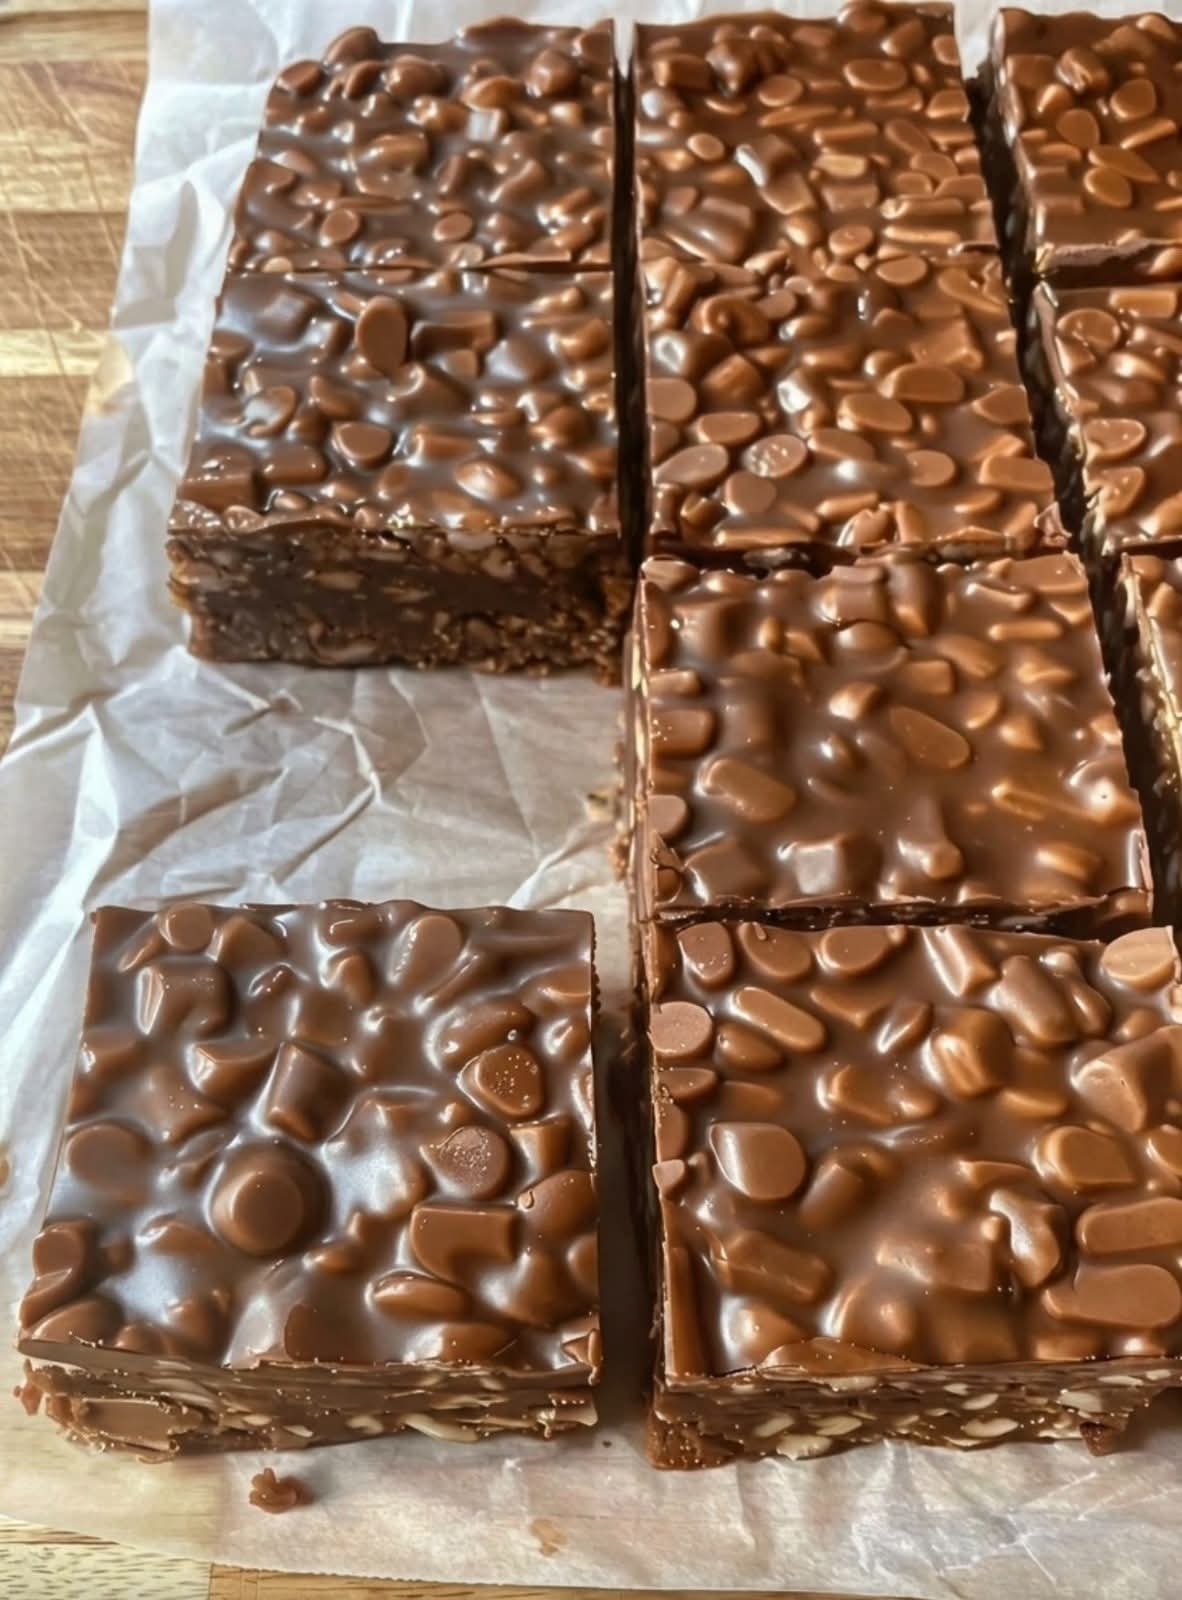
Once fully set, remove the chocolate from the pan using the parchment paper.
Cut into bars or squares using a sharp knife. Your homemade crunch bars are now ready to serve!
Tips for Perfect Crunch Bars
- Use high-quality chocolate for the best taste and texture
- Do not overload the cereal, or the bars may crumble
- Stir gently to keep the cereal crispy
- Let the bars fully chill before cutting for clean edges
Variations & Add-Ins
You can customize this recipe easily by adding:
- Chopped nuts (almonds, hazelnuts, peanuts)
- Caramel bits or drizzle
- Peanut butter
- White chocolate instead of milk chocolate
- Dried fruit for extra texture
Storage Instructions
- Store homemade crunch bars in an airtight container in the refrigerator for up to 7 days
- They can also be frozen for up to 1 month
- Let frozen bars sit at room temperature for a few minutes before eating
Final Thoughts
These homemade crunch bars are an easy, no-bake dessert that delivers amazing flavor with minimal effort. Whether you’re making them for a family treat, a party, or just to satisfy a chocolate craving, this recipe is guaranteed to impress.